You bought a high-refresh gaming monitor, plugged it in, and started playing, but you may not be getting the smooth, tear-free experience you paid for. Variable refresh rate technology, sold as G-Sync on NVIDIA and FreeSync on AMD, is often not enabled by default. Until you switch it on, your monitor and GPU are running out of sync, letting screen tearing and stutter creep back in.
This guide shows you how to enable G-Sync or FreeSync in 2026, step by step, on both NVIDIA and AMD systems. It takes only a couple of minutes in the driver control panel and the monitor’s own menu, and once done it eliminates tearing while keeping input latency low, unlike traditional V-Sync.
⚡ Save on Your Next PC — Amazon Prime
Prime members get fast free shipping on the systems above, plus early access to Prime Day & Black Friday PC deals. New members get a 30-day free trial.
Watch: How to Enable G-Sync or FreeSync — Video Review
What Variable Refresh Does
Normally your monitor refreshes at a fixed rate while your GPU renders frames at a variable one, and the mismatch causes tearing. Variable refresh rate syncs the monitor’s refresh to the GPU’s frame output in real time, so each frame is shown exactly when it is ready. The result is smooth motion without the tearing of no sync or the added lag of V-Sync.
Enable It on the Monitor First
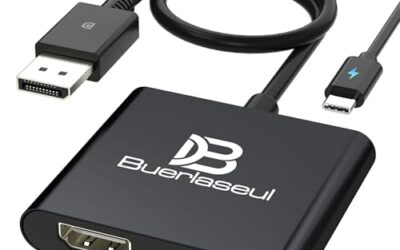
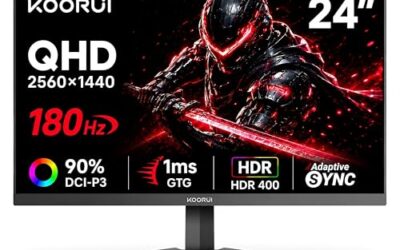
Many monitors ship with FreeSync or Adaptive Sync turned off in the on-screen menu. Press the physical buttons or joystick on your display, find the gaming or picture settings, and switch Adaptive Sync or FreeSync to On. Some panels also need you to select the correct DisplayPort or HDMI version, so use a certified cable like a VESA DisplayPort 1.4 cord for full bandwidth.
- Use DisplayPort where possible, as it supports variable refresh most reliably.
- Ensure your cable is rated for your monitor’s resolution and refresh rate.
Turn It On in the NVIDIA Control Panel
On an NVIDIA system, right-click the desktop and open the NVIDIA Control Panel. Under Display, choose Set up G-Sync, tick Enable G-Sync, and select whether to use it in full screen only or windowed mode too. If your monitor is FreeSync but G-Sync Compatible, this is also where you enable it.
Turn It On in AMD Software
On an AMD system, open AMD Software, go to the Gaming or Display section, and toggle AMD FreeSync to Enabled. Confirm your monitor is detected as FreeSync capable. Once active, you can verify it is working using your monitor’s built-in refresh-rate indicator if it has one.
Tips
- Cap your frame rate a few frames below your monitor’s maximum to keep variable refresh in its optimal range.
- Combine variable refresh with a low-latency mode for the smoothest, most responsive feel.
- If you see flickering in some games, update your GPU driver and monitor firmware.
- A G-Sync Compatible FreeSync monitor works fine with NVIDIA cards once enabled in the control panel.
Frequently Asked Questions
Do I need a special monitor for G-Sync or FreeSync?
You need a monitor that supports variable refresh. FreeSync is common and works with AMD and most NVIDIA cards as G-Sync Compatible; dedicated G-Sync modules are rarer and NVIDIA specific.
Is G-Sync or FreeSync better?
For most players the experience is nearly identical. FreeSync monitors are cheaper and widely G-Sync Compatible, making them the value choice, while native G-Sync modules add a small premium for guaranteed behavior.
Should I still use V-Sync with it?
Within the variable refresh range you do not need V-Sync. Capping your frame rate just below the monitor’s maximum keeps frames inside that range and avoids tearing without V-Sync’s latency.
Why is variable refresh off by default?
Many monitors and drivers ship with it disabled, so you must enable it manually in both the monitor menu and the GPU control panel to actually benefit.
Conclusion
Enabling G-Sync or FreeSync is a quick two-part job: switch on Adaptive Sync in your monitor’s menu, then enable it in the NVIDIA Control Panel or AMD Software. Use a quality DisplayPort cable, cap your frame rate just under your refresh ceiling, and you will finally get the smooth, tear-free gaming your high-refresh monitor was built to deliver.