🛒 Best Price Today on Amazon
Prime members get fast, free shipping on everything above, plus member-only deals. New members get a 30-day free trial — cancel anytime.
- What You Need Before Setup
- Connect Netgear Extender to Router With WPS
- Connect Netgear Extender Without WPS
- Connect Using the Nighthawk App
- Move the Extender to the Correct Location
- Connect Devices to the Extended Network
- How an Extender Communicates With the Router
- Use Ethernet With a Netgear Extender
- Why the Netgear Extender Will Not Connect
- Check the WiFi Password
- Restart the Router and Extender
- Reset the Extender if Setup Fails
- Keep the Extender Away From Interference
- Extender vs Mesh WiFi
- FAQ
- Conclusion
To connect Netgear extender to router, place the extender near your router, power it on, then pair it with WPS or use the Netgear setup page through a browser. After the connection is complete, move the extender to a location where it still receives a strong router signal while improving WiFi coverage in the weak area.
What You Need Before Setup
Before starting, make sure the router is working and that you know the WiFi network name and password. The extender should be powered from a nearby wall outlet during initial setup. Using a location close to the router reduces connection problems and makes it easier for the extender to detect the wireless network.
You should also have a phone, laptop, or desktop computer available if you plan to use browser-based installation. Some Netgear models can be configured through the Nighthawk app, while others use a browser setup page. The available method depends on the exact extender model and firmware.
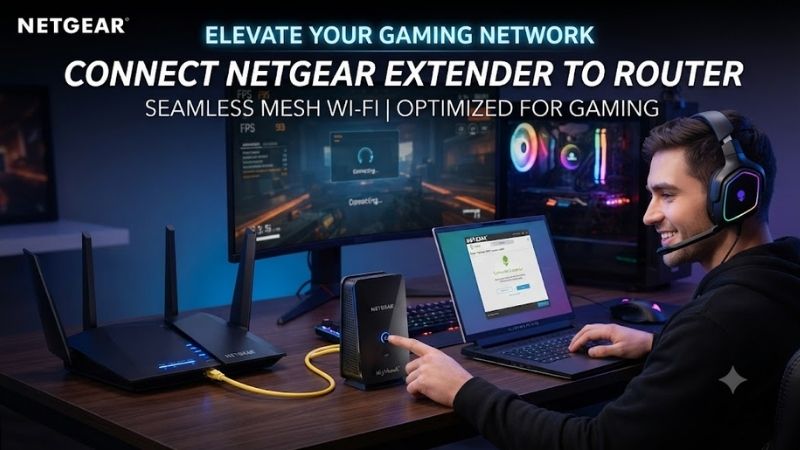
Connect Netgear Extender to Router With WPS
WPS is usually the fastest method when both the router and extender support it. Plug the extender into a wall outlet near the router and wait until the power indicator becomes stable. Do not move the extender to its final location until the initial wireless pairing has finished successfully.
Press the WPS button on the extender, then press the WPS button on the router within the pairing window specified by the device instructions. The extender should attempt to connect automatically without requiring you to type the WiFi password manually. Indicator lights normally show whether the connection was successful.
After pairing, the extender may create an extended network name based on the existing router SSID. Some Netgear models use names ending in extensions such as _EXT, while mesh-capable models may use the same network name. Check the device instructions because naming behavior can vary between product generations.
Connect Netgear Extender Without WPS
If the router does not support WPS, or WPS pairing fails, use manual browser setup. Plug the extender into an outlet near the router, turn it on, and wait for startup to complete. Then open the WiFi settings on your phone or computer and connect to the extender’s temporary setup network.
Once connected to the extender, open a browser and follow the Netgear installation page presented by the device. If the setup page does not open automatically, use the setup address specified for your model. The installation wizard should scan for nearby networks and display the WiFi networks detected by the extender.
Select your router’s normal WiFi network and enter its password carefully. If your router broadcasts separate 2.4 GHz and 5 GHz networks, the extender may ask you to select one or both bands. After confirming the settings, allow the extender time to save the configuration and establish the connection.
Connect Using the Nighthawk App
Some Netgear extenders can be installed through the Nighthawk app. Connect your phone to the extender or supported setup network and follow the guided installation process. The app can help locate the existing router network, enter credentials, configure the extender, and review basic connection information.
App availability and supported features vary between Netgear models, so do not assume every extender uses the same procedure. If the app cannot detect the extender, use browser-based setup instead. The model number on the device label can help identify the appropriate setup method and documentation.
Move the Extender to the Correct Location
After setup, unplug the extender and move it approximately halfway between the router and the area with weak WiFi. The extender must still receive a usable signal from the router. Installing it directly inside a dead zone usually produces poor results because it has little signal to repeat.
Many Netgear extenders include a router-link indicator that helps identify whether the new location receives an adequate signal. If the indicator shows a weak connection, move the extender closer to the router. A shorter but stronger link usually performs better than placing the device farther away simply to maximize distance.
Connect Devices to the Extended Network
Once the extender is operating from its final location, connect your phone, computer, gaming system, TV, or other device to the extended wireless network. If the extender creates a separate network name, select that SSID and enter the configured password.
Some extenders use the same credentials as the main router, while others allow a different extended-network name. Using the same SSID can make movement around the home simpler, but client roaming behavior still depends on the router, extender, and connected device.
How an Extender Communicates With the Router
A wireless extender receives data from the main router and retransmits it toward devices in areas where the router signal is weak. Because wireless traffic may need to travel through the extender before reaching the router, placement and radio conditions can strongly affect actual performance.
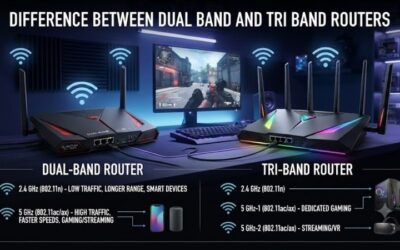
Traditional single-radio or shared-band extenders may lose throughput because the same wireless resources handle both backhaul and client communication. Dual-band and tri-band designs can manage traffic more efficiently, while Ethernet backhaul or access-point mode can provide better performance where wired networking is available.
Use Ethernet With a Netgear Extender
Some Netgear extenders include Ethernet ports. Depending on the model, these ports may allow wired devices such as gaming consoles, televisions, desktop PCs, or network printers to connect through the extender.
Certain models also support access-point mode, where an Ethernet cable runs from the router to the extender. In this configuration, the device creates WiFi from a wired network connection instead of repeating the router wirelessly. Access-point mode can provide greater consistency because it avoids a wireless backhaul link.
Why the Netgear Extender Will Not Connect
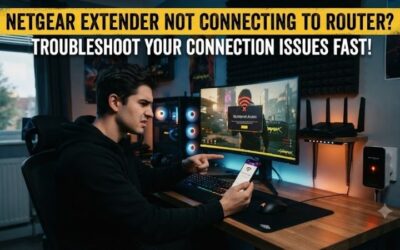
The most common causes are an incorrect WiFi password, weak router signal, unsupported security settings, failed WPS pairing, or an extender that still contains old configuration information. Restarting both devices and repeating setup close to the router can resolve many basic connection problems.
Also confirm that the router is broadcasting the band required by the extender. Very old extenders may support only 2.4 GHz, while newer units support dual-band connections. If the router has recently changed its WiFi name or password, the extender may need to be configured again.
Check the WiFi Password
An incorrect router password is one of the easiest setup problems to overlook. Wireless passwords are case-sensitive, so uppercase letters, lowercase letters, numbers, and symbols must match exactly.
Try connecting another device directly to the router using the same password. If that device cannot connect either, verify the credentials before continuing with the extender. Updating the router password usually means the extender must also be reconfigured with the new information.
Restart the Router and Extender
Power cycling can clear temporary software or wireless connection issues. Turn off or unplug the extender, restart the router, wait until its WiFi network is fully available, and then power the extender back on.
Avoid restarting everything repeatedly during an active setup process because saving configuration can take time. Give each device enough time to complete startup before assuming the connection has failed.
Reset the Extender if Setup Fails
If the extender was previously used with another router or contains incorrect settings, a factory reset may be necessary. Most Netgear extenders have a recessed reset button that must be held for a specified period while the device is powered.
Resetting erases existing network configuration, so you will need to repeat installation from the beginning. Use this step after simpler troubleshooting because any custom network name, password, and other settings stored on the extender will be removed.
Keep the Extender Away From Interference
Wireless extenders can perform poorly near microwave ovens, thick concrete walls, large metal objects, cordless equipment, or crowded wireless devices. The 2.4 GHz band provides greater reach but is often busier, while 5 GHz can offer higher speeds over shorter distances.
Move the extender into an open location instead of hiding it behind furniture or inside a cabinet. A small position change can sometimes improve signal strength significantly, particularly when walls, floors, or appliances block the direct path between the router and extender.
Extender vs Mesh WiFi
A traditional extender is useful when one or two rooms need better coverage and replacing the router is unnecessary. It is often affordable and simple, but the experience can be less seamless than a coordinated mesh system.
Mesh WiFi systems use multiple nodes designed to operate together under centralized management. They are usually better for larger homes with several weak areas. An extender remains a sensible option when the existing router performs well and only a specific coverage gap needs attention.
FAQ
Does a Netgear Extender Need the Same Password as the Router?
Many Netgear extenders can use the same WiFi password as the router, especially during standard setup. Some models allow separate settings for the extended network. Follow the configuration options provided by the specific device.
How Far Should the Extender Be From the Router?
There is no fixed distance because walls and interference affect signal strength. Place the extender between the router and weak area while making sure it still receives a strong enough connection from the router.
Can I Connect the Extender to Any Router?
Many Netgear WiFi extenders work with standard wireless routers from different manufacturers. However, advanced mesh features and specific connection modes may require compatible Netgear hardware.
Why Is My Extender Connected but Internet Is Not Working?
The extender may be linked to your device but not successfully connected to the router. Check the router-link indicator, restart both devices, verify the router password, and repeat setup if necessary.
Can I Use a Netgear Extender for Gaming?
Yes, but performance depends on connection quality. A weak wireless backhaul can increase latency and reduce speed. Ethernet from the gaming device to the extender can help, while a wired access point or mesh system may provide better consistency.
Conclusion
To connect Netgear extender to router, begin close to the router and use WPS, browser setup, or a supported app. After pairing, move the extender to a position where it receives a strong router signal while reaching the weak area. If setup fails, verify the password, restart both devices, check placement, or reset the extender and configure it again.